

Retouch4me plugins Review: honest opinion from a Fashion Photographer
As a photographer, you know that retouching can eat up more hours than the actual shoot. 🥲
While I work with retouchers, I still do a lot of editing myself, which is why I’m always on the hunt for tools and techniques that can help me deliver high-end results faster, without sacrificing quality. If you're in the same boat and want to explore what else is out there in 2025, this roundup of AI photo editing tools by Honcho gives a great overview of current options for different editing needs — including portrait, product, and beauty work.
I myself recently tested some of the Retouch4me plugins - a set of AI-powered plugins promising professional retouching with just a few clicks. I’ve now used them across multiple real-world client projects and I’m ready to give you my full, honest opinion.
(And yes — I’ll tell you about both the good and the bad!)
What is Retouch4me?
Retouch4me is a series of standalone and Photoshop-compatible plugins, each focused on automating a specific part of the retouching workflow:
Healing skin
Cleaning backdrops
Removing dust and small defects
Enhancing eyes
Dodge & Burn effect and more
The idea is simple: instead of spending hours manually cleaning up dust, smoothing backdrops, or micro-retouching skin, you let the plugin do the heavy lifting — while you stay in control of the final polish.
My experience
As a test, I decided to give a go to three plugins that caught my attention: Backdrop Cleaner, Dust Cleaner and Skin Tone. While I wasn’t particularly impressed by the Skin Tone plugin, I absolutely loved the first two. So let me tell you what I think about them.
Backdrop Cleaner Plugin
✅ One-click cleanup: It cleanes backdrops in a single click (on my MacBook Pro it takes usually like 10-15 sec per photo to load. Also, the more details on the photo - the longer the load process can take)—saving me a ton of time compared to manual retouching. It’s especially perfect for editing a series of 3–5 photos or more.
✅ Bonus fabric smoothing: On some photos, it also smoothed out some fabric creases automatically. I didn’t expect that, but honestly, I quite liked the effect.
✅ Masking control: You can easily add or remove areas you want the plugin to affect using a mask. Super helpful for keeping control over your edits.
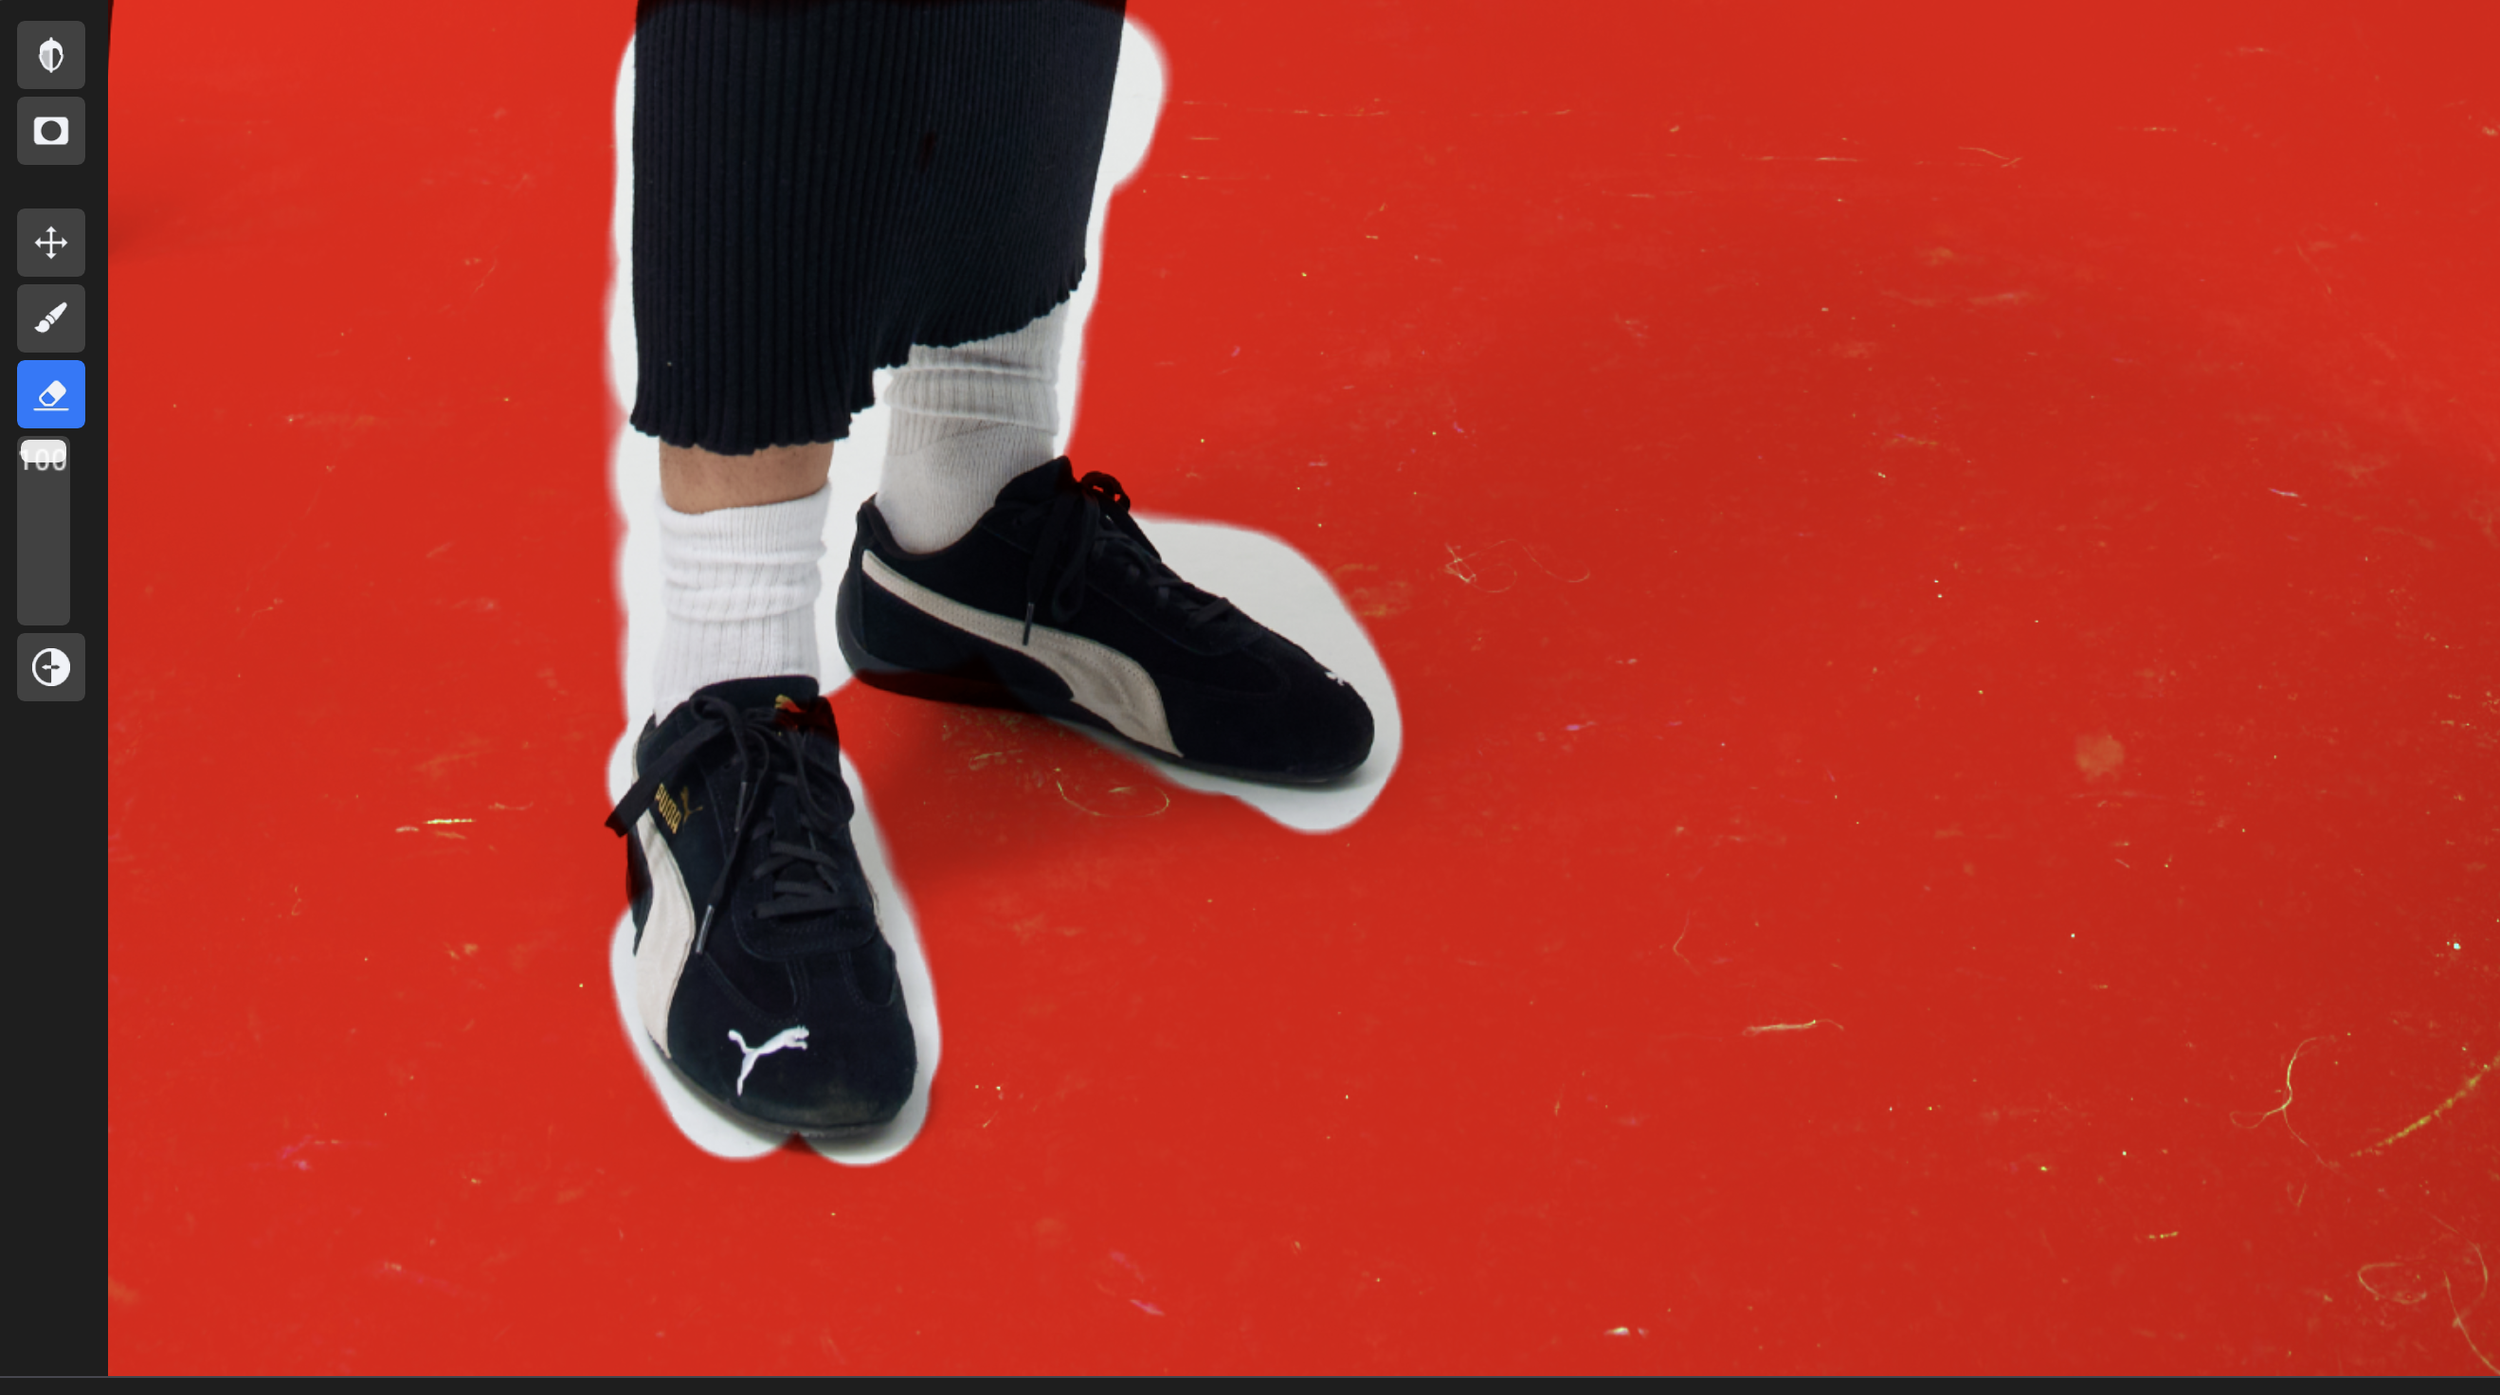
Everything highlighted in green shows the dirt that will be removed, while red indicates the actual mask. As you can see, I manually excluded the legs from the mask to keep them untouched.
✅ Customizable “dirtiness” level: You can select how detailed the cleanup should be—small, medium, or coarse. I found that choosing the “small” setting worked best for me: it picked up the main dirt without accidentally removing things I wanted to keep. The “coarse” setting can sometimes clean up areas you didn’t intend, so a bit of manual tweaking might be needed.
❌ Can look too smooth: If you’re not careful, the backdrop can end up looking a bit too perfect and unnatural. Adjusting the opacity usually solves this. As a rule: the cleaner your original backdrop, the more natural the final result. The dirtier it was... the trickier and more artificial it might look after cleanup.
Below is the mask with dirt, the before and after. Backdrop looks just a bit too smoth, but when zoomed out - it’s ok.


Dust Cleaner Plugin
✅ Removes dust effectively: No complaints here—it does exactly what it promises! Works especially well on fabrics.
(Just a heads-up: it didn’t work as well on jewellery for me. If you’re hoping to clean dust and scratches from metal surfaces, this tool isn’t quite there yet.)
✅ Can smooth out skin texture: If your model’s skin has lots of tiny imperfections—like fine hair, small pores, or light/dark skin particles—the plugin can help even out the surface. It’s a nice bonus for quick retouching when you want smoother-looking skin without heavy editing.
Example below: the mask, the before and after.


✅ Can smooth out flyaway hairs: Similar to how it works on skin, I found it’s actually quite effective for tidying up flyaways as a first step! It gives you a clean base, and then you can easily refine the details in Photoshop afterward.
Below you’ll see the mask, along with the before and after results.


❌ Can over-smooth the image: If you don’t fine-tune the mask and apply the plugin across the entire photo, it can create an overly smooth, unnatural look. It’s definitely worth taking a minute to adjust the mask carefully.
❌ Processing time can be slow: On my MacBook Pro, processing a single detailed image usually takes at least a minute. It’s not instant, but the upside is that it’s passive—you’re just waiting, not actively retouching.
Retouch4me: general Pros and Cons
Pros:
✅ Massive Time-Saver: Tasks that used to take me 1–2 hours (especially backdrop cleanup on series of photos) now take minutes.
✅ Standalone or Photoshop Plugin: Flexible depending on your workflow. You can either buy a plugin and use it as many times as you want, or you can download for free a Retouch4me Photoshop Panel and get access to 10 plugins by way of purchasing credits. 1 credit - 1 photo. The smallest package is $4 where you get 15 credits. If you don’t edit hundreds of photos, that’s a great option. Although, e.g. dust cleaner plugin is not a part of this Panel.
✅ Extremely Easy to Use: Launch, click, adjust, done. No steep learning curve.
✅ Masking: you can mask where you want the effect to apply.
Cons:
❌ Each Plugin is a Separate Purchase: If you decide you want the full set of plugins, it can get expensive quickly. Something to keep in mind when planning your investment.
❌ Requires a Good GPU for Smooth Performance: On older machines, processing can be noticeably slower—and in some cases, the plugin might not even launch. (One of my friends couldn't get it running at all.) Definitely worth trying the demo first to make sure it works on your setup!
❌ Batch Editing Limitations: When editing outside of Photoshop using standalone plugins, batch editing isn't ideal. The software processes and exports all images as final edits, meaning you don't get a chance to fine-tune masks afterward. Personally, that doesn’t fit my workflow, so I still prefer to process each photo individually.
❌ Not a Magix Fix: These plugins are great for speeding up your workflow, but they’re not a magic fix. You’ll still need manual retouching to polish the final result properly. Think of them as a helping hand—not a full replacement for detailed work.
20% Off Retouch4me — Special Discount
Overall, I'm happy with the two plugins I tested today and can definitely recommend them for speeding up your editing workflow. If you’re interested, I highly suggest starting with the free demo—test it out first, and only invest if you’re genuinely happy with the results.
I have a special 20% discount code for you! Just use my affiliate link below or enter the promo code KUKEBAL20 at checkout:
Transparency note: This is an affiliate link, which means I may earn a small commission — at no extra cost to you. I only recommend tools I genuinely use and trust in my own business.
Retouch4me is not magic — it won’t replace your eye as a photographer or a retoucher. But if you’re looking for smart, specialised plugins that genuinely save time, it’s a great investment you can make for your photography business today.
If you have any questions about how I use it or want to see more examples, feel free to reach out :)